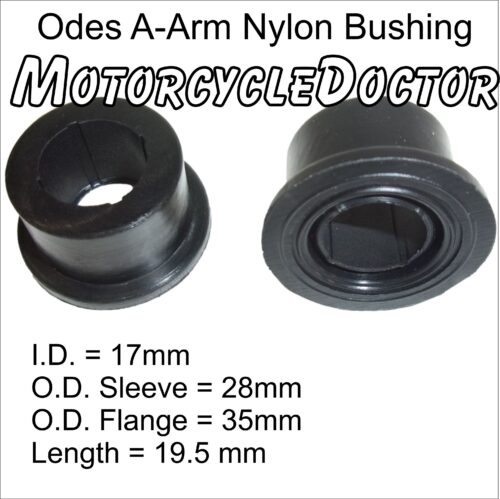
 This is for (2) Nylon Bushings. Fit most Odes Round Tubing A-Arms 800 and 1000
'Front Wheel / Axle Bearing Kit'
Both Bearings and Both Seals for (1) Wheel !
(we also have the Front and Rear Knuckle, if needed)
****** and most other parts ! ******
WILL FIT HISUN and ODES UTVs CARB & EFI MODELS 400,500,700 & 800cc
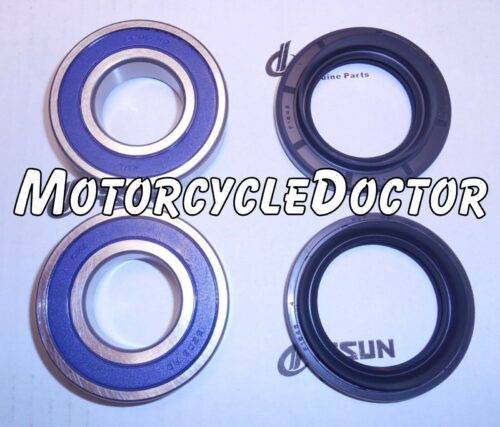
'REAR Wheel / Axle Bearing Kit'
Both Bearings and Both Seals for (1) Wheel.
(we also have the Front and Rear Knuckle, if needed)
Fits ODES and HISUN UTVs CARB & EFI MODELS 400,500,700 & 800cc
Approx. 2020 some models now have (1) Single Bearing that is Double Wide with No spacer.

 This Throttle Cable is for 2015ish - 2023 UTV 800 and 1000 X2-X4 . Please Measure your old cable and check the Ends to match. (This has a 45 degreee Bend) Overall Length is Approx. 65" and the outer cable sheathing/housing is approx. 60".
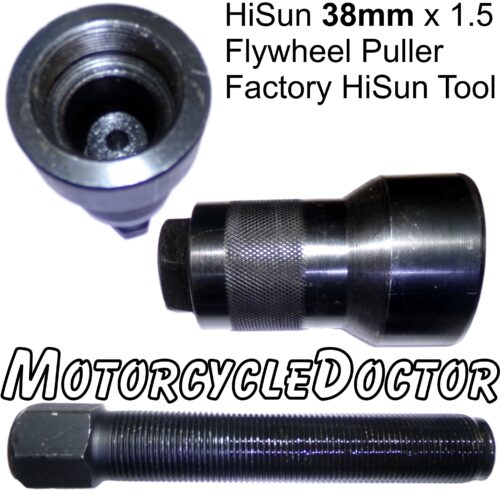
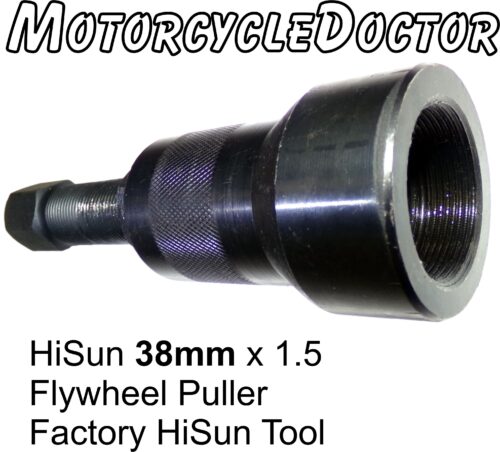
Factory HiSun FLYWHEEL (Magneto) PULLER 38mm
FITS MOST ATV - UTV 800 and 1000 'V-Twin' MODELS 2008-2024
We Now List Many HiSun Special Tools !
* Now Fits most 2019 and Newer HiSun 550, 700 and 750 *
This PULLER is needed to Replace or Remove the Flywheel
ODES & HiSUN 800 and 1000 ATVs and UTV'S INCLUDING,
MASSIMO, BENNCHE, HISUN, Dominator (and many more)

ODES Speed Controller 2-plug Connector with 1-Wire
ODES 800 UTV X-2 & X-4
This is for 10109360000A
others below;
*Only 1 Plug Limiter Box = 10909360001*
**2-Plug Limiter with 2-wire = 10109360001**
 This Key Blank is for ‘On The Column’ Ignition Switch with (1) Runout Groove.Fit most HiSun 400 & 800.
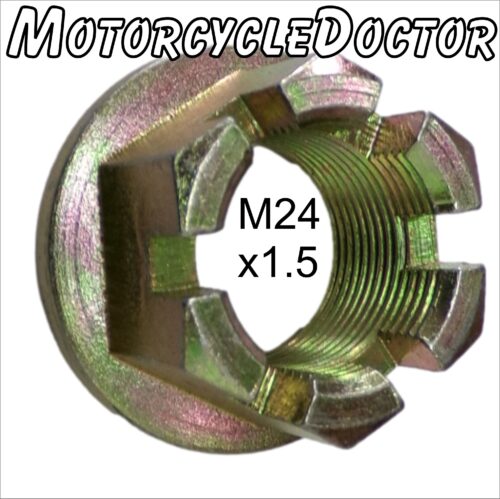
Fits Front and Rear HiSun Axles 450-1000.
Fits Odes Rear Axles (Odes Front are 22mm)
The Inside Diameter is approx. 22.5
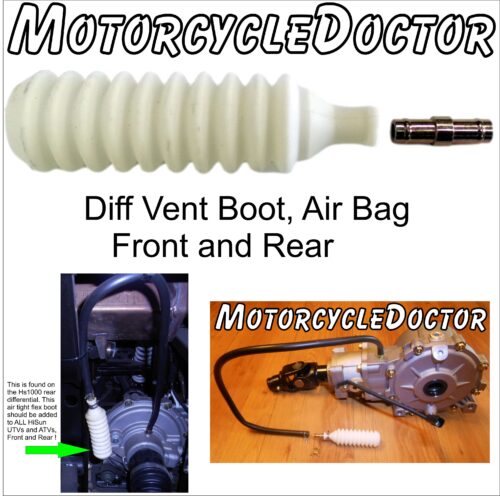 Add this to both Front and Rear Diff Vent Hoses, no clamps required.